Here’s the same step-by-step RAM installation blog, updated with helpful external links to trusted sources, manuals, and tools. It’s written so parents and beginners can follow along easily and click out if they need extra help.
Installing RAM in a Computer
A Step-by-Step Visual Setup Guide (Beginner & Parent Friendly)
Installing or upgrading RAM (memory) is one of the simplest and safest upgrades you can do on a gaming computer. It improves game performance, multitasking, and overall system responsiveness—often in under 10 minutes.
This guide is perfect for parents helping kids, first-time builders, or anyone new to PC hardware.
🎯 Why RAM Matters for Gaming
RAM helps your computer:
- Load games faster
- Run games more smoothly
- Avoid stuttering when multitasking
Recommended RAM in 2025
- 16GB – Minimum for modern games
- 32GB – Ideal for gaming PCs and future-proofing
👉 Microsoft gaming performance overview:
https://support.microsoft.com/windows/tips-to-improve-pc-performance-in-windows
🧰 What You’ll Need
✔ Compatible RAM (DDR4 or DDR5 — must match your motherboard)
✔ Phillips screwdriver (if your case needs it)
✔ Clean, flat workspace
🔎 Not sure what RAM you need?
- Crucial System Scanner (safe & free):
https://www.crucial.com/store/systemscanner - Corsair Memory Finder:
https://www.corsair.com/us/en/c/memory
🔌 Step 1: Power Down & Unplug the PC
- Shut down the computer
- Turn off the power supply switch (back of PC)
- Unplug the power cable
⚠️ Never install RAM while the PC is plugged in.
PC safety basics:
https://www.intel.com/content/www/us/en/support/articles/000005552/processors.html
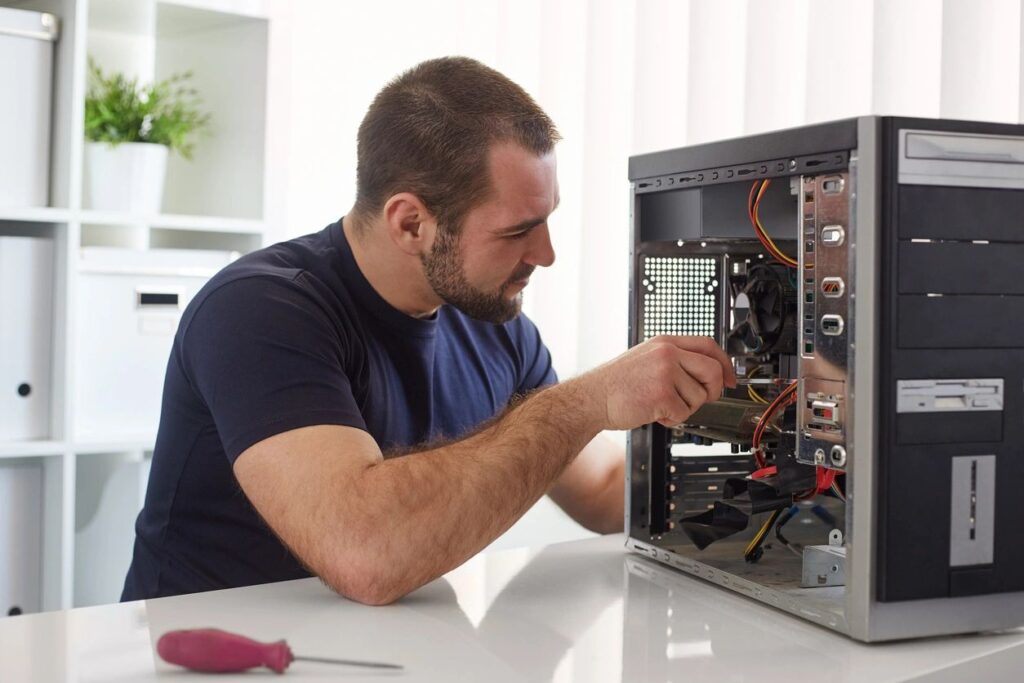
🖱️ Step 2: Open the PC Case
- Lay the computer on its side
- Remove the side panel (usually 2 screws at the back)
Most gaming cases are tool-less.
Helpful case overview (visual):
https://www.pcgamer.com/how-to-build-a-pc/
🧠 Step 3: Locate the RAM Slots
RAM slots:
- Long, thin slots on the motherboard
- Located near the CPU
- Labeled DIMM A1, A2, B1, B2
Motherboard anatomy guide:
https://www.tomshardware.com/reviews/motherboard-buying-guide,5680.html
📐 Step 4: Use the Correct RAM Slots (Very Important)
If installing two RAM sticks, most motherboards require:
- Slot 2 and Slot 4 (not side-by-side)
This enables dual-channel mode, which boosts performance.
📘 Find your exact slots:
- Search your motherboard model on the manufacturer site
- Example (ASUS): https://www.asus.com/support
- Example (MSI): https://www.msi.com/support
✋ Step 5: Install the RAM
- Push the clips on the RAM slot outward
- Align the notch on the RAM stick with the slot
- Press down firmly until it clicks into place
✅ The clips should snap back automatically.
RAM installation video (visual learners):
https://www.youtube.com/watch?v=RdukEtSlia0
🔁 Step 6: Install Additional RAM Sticks
Repeat the same steps for each stick:
- Even pressure
- Firm click
- No wobbling
Never force RAM—if it doesn’t fit, it’s likely misaligned.
🔒 Step 7: Close the Case & Power On
- Reattach the side panel
- Plug the power cable back in
- Turn on the power supply
- Boot the PC
💻 Step 8: Confirm RAM Is Detected
On Windows:
- Right-click Taskbar → Task Manager
- Click Performance → Memory
- Confirm the total RAM matches what you installed
Windows memory check guide:
https://support.microsoft.com/windows/find-out-how-much-ram-your-pc-has
❓ Troubleshooting Tips
PC won’t boot
- Power off
- Reseat the RAM
- Try one stick at a time
RAM not showing correctly
- Check motherboard compatibility
- Update BIOS if required
BIOS basics (beginner guide):
https://www.howtogeek.com/196916/how-to-update-your-computers-bios/
👨👩👧 Parent Tip
Installing RAM is:
- Safe
- Educational
- A great confidence boost for kids interested in gaming or tech
It’s one of the best “first PC upgrade” experiences.
✅ Final Thoughts
RAM installation is:
✔ Beginner-friendly
✔ Fast (5–10 minutes)
✔ One of the best gaming upgrades
With the right RAM and a little guidance, anyone can do it.